- Mark as New
- Bookmark
- Subscribe
- Subscribe to RSS Feed
- Permalink
- Report Inappropriate Content
03-29-2019 10:16 AM (Last edited 03-29-2019 10:18 AM ) in
Galaxy SManual Mobile Photography
The Ultimate Guide
When we’re documenting our life’s greatest adventures with our smartphone in hand, it’s easy to simply point and tap. A majority of the camera’s parameters are automatically set by our phone’s sensor, making manual functions nearly impossible by the photographer. Luckily, with third party applications, such as the Moment - Pro Camera App (wink, wink!), you’re now able to independently control each setting. Adjust the ISO, shutter speed, white balance, and more...all in the palm on your hand to really get the most of your mobile work. Pffft, who needs a DSLR?
Below is everything you need to know for getting the most out of your photography with manual settings on your mobile device.

File Formats
Devices these days are advancing allowing for more image file formats just like a pro camera has.
The Formats
JPEG - the standard compressed file format you're used to shooting on
TIFF - a lossless file format that retains all the image details in various layers
RAW - a lossless, high-quality file format loved by the pros
RAW is a particular image file, available on most newer mobile devices, that captures all image data recorded by the camera’s sensor when the image is taken. Alternatively, when shooting in a format like JPEG, the image information is compressed and lost, often resulting in lower quality imagery. Because no information is being compressed under RAW format, you’re able to create higher quality photographs, as well as correct problem areas that would be otherwise unrecoverable if shot in JPEG.
Shoot your photos in RAW to capture greater detail and have a better base image to edit.

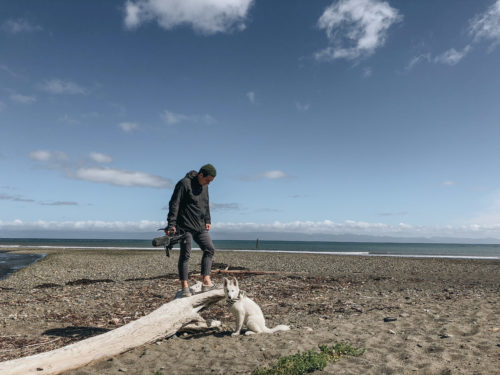

ISO
ISO is the level of your camera’s sensitivity to available light in the scene. The lower the ISO number, the less sensitive it is to the light, while a higher ISO number increases the sensitivity of your camera. The level of ISO will greatly depend on when and where you are taking your photographs.
When you're shooting outdoors in the daylight, use a lower ISO – we recommend starting at ISO 32 in the Moment - Pro Camera App. For shooting indoors or darker conditions you'll want to bump your ISO higher but be cautious to not go too high as the higher the sensitivity becomes, the more grain or "noise: will be added to the image.
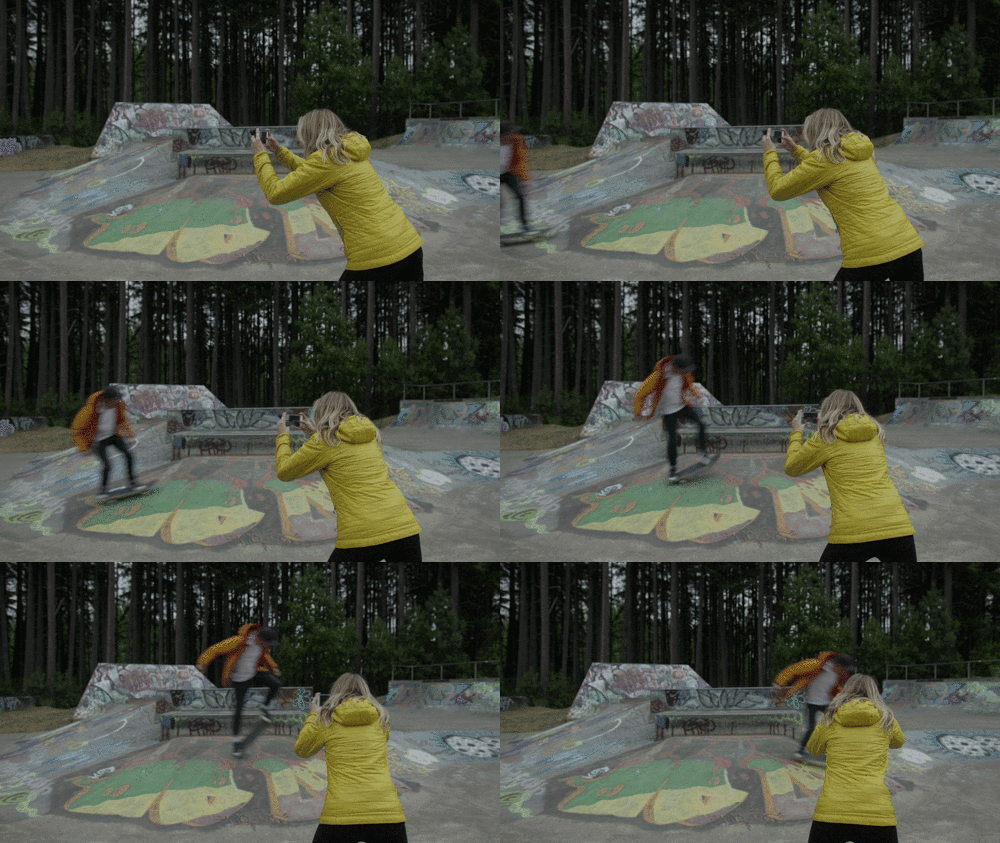
Shutter Speed
Defined at its most basic level, the “shutter speed” refers to the amount of time the camera’s shutter is open. Think of it as the length of time that your image sensor ‘sees’ the scene you’re attempting to capture.
The lower the denominator, the slower the shutter is to take a picture allowing more light in. A slower shutter speed is great for low-light conditions and capturing motion blur. When you’re using shutter speed of anything lower than 1/60, you’ll most likely need a tripod to reduce the blur in your photo.

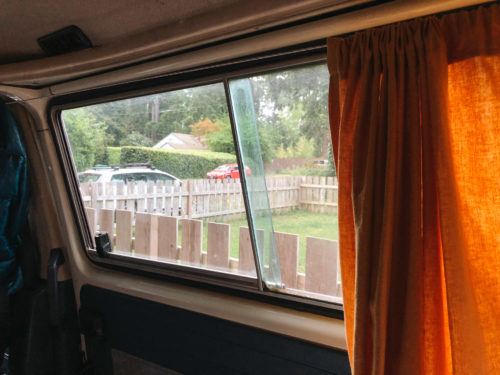
White Balance
Not all light is created equal and that's where White Balance comes in. Adjusting your White Balance will help you get more true colors in your images.
Artificial light sources often create overly warm tones so adjust your white balance to cool it down some. Shooting in shady conditions will be cooler so you can use white balance to warm them back up.
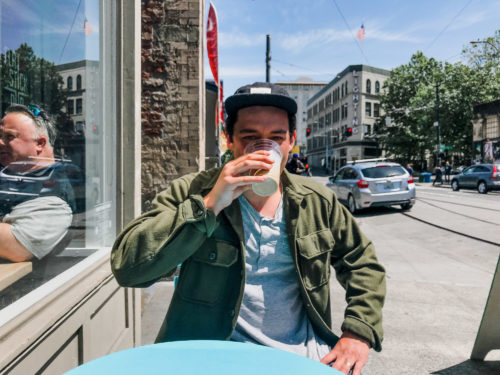
Focus
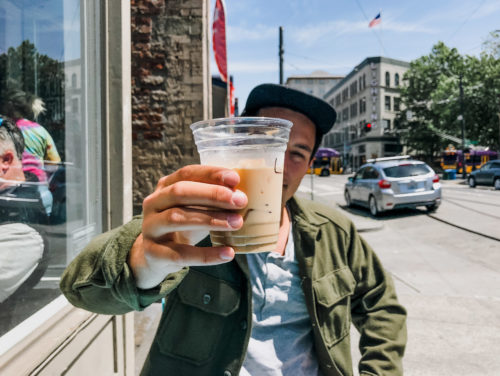
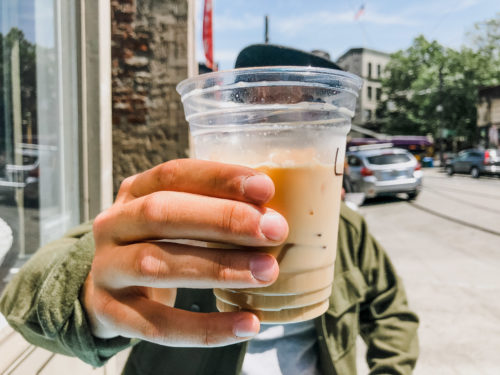
Attaining a relatively sharp image first comes with proper focal range. Most DSLR shooters capture with autofocus because it’s simple, effective, and reliable. However, having the option to manually focus on a particular subject, or part of a subject, is crucial to finalizing the perfect picture. Manual focus especially comes in handy when the camera can’t quite fix on what part of the frame you need.
A focus slider, like in the Moment - Pro Camera App, allows you to manually focus by sliding focal point from near to far. This comes particularly useful when shooting portraits or other subjects in the foreground.

Understanding the basic functions of what makes a great image comes from the use of manual photography. As easy as it may seem to automate your phone’s camera functions, being able to independently control ISO, shutter speed, focus, white balance, and image formatting will take your photography game to a drastic new level.
- Mark as New
- Subscribe
- Subscribe to RSS Feed
- Permalink
- Report Inappropriate Content
03-29-2019 10:31 AM in
Galaxy S- Mark as New
- Subscribe
- Subscribe to RSS Feed
- Permalink
- Report Inappropriate Content
03-29-2019 10:33 AM in
Galaxy SThanks for reading!
- Mark as New
- Subscribe
- Subscribe to RSS Feed
- Permalink
- Report Inappropriate Content
03-29-2019 10:38 AM in
Galaxy S- Mark as New
- Subscribe
- Subscribe to RSS Feed
- Permalink
- Report Inappropriate Content
03-30-2019 07:42 PM in
Galaxy S- Mark as New
- Subscribe
- Subscribe to RSS Feed
- Permalink
- Report Inappropriate Content
03-29-2019 10:39 AM in
Galaxy S- Mark as New
- Subscribe
- Subscribe to RSS Feed
- Permalink
- Report Inappropriate Content
03-30-2019 07:46 PM (Last edited 03-30-2019 07:46 PM ) in
Galaxy S- Mark as New
- Subscribe
- Subscribe to RSS Feed
- Permalink
- Report Inappropriate Content
03-31-2019 01:24 PM in
Galaxy S- Mark as New
- Subscribe
- Subscribe to RSS Feed
- Permalink
- Report Inappropriate Content
03-31-2019 01:25 PM in
Galaxy S- Mark as New
- Subscribe
- Subscribe to RSS Feed
- Permalink
- Report Inappropriate Content
03-31-2019 01:25 PM in
Galaxy S